A wood fence does a lot for your property. It gives your yard privacy, defines your outdoor space, and adds warmth around your house, patio, garden, or pool area. But after years of sun, rain, dirt, grass clippings, and everyday wear, even a well-built wooden fence can start to look tired.
That is where a fresh coat of fence paint can make a big difference.
Learning how to paint a wood fence is not only about changing the color. It is also about protecting the wood, improving your home’s curb appeal, and giving your fence a longer life. Whether you are updating an old fence, finishing a new fence, or changing from stain to paint, the right painting process can help create a clean, durable finish.
Before You Start Painting a Wood Fence
Before you start painting, take a few minutes to inspect the fence. Is the surface rough? Is there peeling paint? Are some boards soft, cracked, or loose? Are the fence posts still solid? A new coat can improve the look of a wood fence, but paint cannot fix rotting boards or structural problems.
If you are working on an old fence, check both sides if you can. Sometimes the side facing the yard looks fine, while the other side has more dirt, fading, or moisture damage. If the fence is shared with neighbors, it is also a good idea to talk with them before painting the other side or changing to a different color. If you are painting a new fence, make sure the wood is dry enough to accept paint. Fresh lumber can hold moisture, and painting too soon may keep the first coat from bonding well.
You should also decide whether paint is the best choice for your fence. Stain is often used when homeowners want to show more of the natural wood grain. Paint gives stronger color coverage and can create a more finished look, especially if you want a white fence, a dark modern fence, or one color that matches your house or outdoor furniture.
Choose the Best Paint for Your Wood Fence
The best paint for a wood fence is an exterior product made for outdoor wood. Interior paint is not designed to handle rain, sunlight, changing temperatures, or regular moisture. For most homeowners, a high-quality exterior fence paint is the better option because it creates a protective barrier over the wood.
Once you step inside the store, you might see both oil-based paint and water-based paint as your choices. Oil-based paint can create a hard, durable finish, but it usually has a stronger odor, longer drying time, and more cleanup requirements. Water-based paint is easier to clean up, dries faster, and is commonly used for outdoor fence painting.
The best color depends on your home, yard, landscaping, and personal style:
- A white fence feels classic and bright.
- Black or dark gray can look clean and modern.
- Brown, tan, or green can blend more naturally with the yard.
If you are unsure, test a small area first and look at it in morning and afternoon light before committing to the full fence.
Check the Weather Forecast
Weather can make or break a fence painting project. Paint needs the right conditions to bond well to the surface. If the wood is damp, too hot, or exposed to rain too soon, the finish may not last.
Choose a dry day with mild temperatures. Avoid painting a fence right before rain or when the wood is still wet from washing, sprinklers, or morning dew. It is also best to avoid the hottest part of the day, especially if the fence gets direct sun. Paint that dries too quickly can leave uneven marks, streaks, or lap marks. Plan to have at least a couple of dry days ahead. That gives you time to wash, let the wood dry, apply the first coat, and return for the second coat without feeling rushed.
Gather Your Tools and Supplies
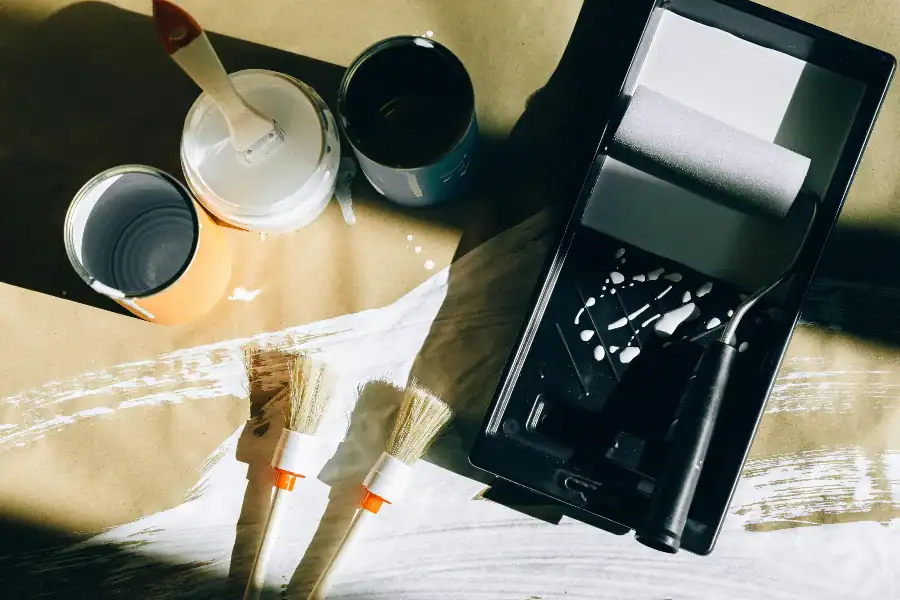
A smooth fence painting job starts with having the right supplies nearby. You do not want to stop halfway through because you forgot painter’s tape, plastic sheeting, or a paintbrush for tight spaces.
For most wood fence painting projects, you will need these important materials:
- exterior fence paint
- primer if needed
- a paintbrush
- roller
- tray
- drop cloths or plastic sheeting
- painter’s tape
- sandpaper
- a scraper
- a stiff brush
- a garden hose
- cleaning solution
- gloves
- eye protection
Move outdoor furniture, planters, toys, grills, and other items away from the fence before you begin. Cover nearby landscaping, patio surfaces, grass edges, and anything else you do not want painted. A little protection at the beginning can save a lot of cleanup later.
Step-by-Step Guide to Painting a Wood Fence
Step 1: Clean the Fence
The first step in the painting process is cleaning. Paint sticks better to a clean surface. If you paint over dirt, dust, mildew, spider webs, or loose debris, the new coat may peel or look uneven.
Use a stiff brush to remove loose dirt and buildup. For heavier grime, wash the fence with a mild cleaner and water. A garden hose is usually enough for basic cleaning, but a pressure washer may help on larger or dirtier fences. Be careful not to use too much pressure, because it can damage the wood or leave rough marks.
After washing, let the wood dry completely for a full day or longer, depending on the weather, shade, and how much water the wood absorbed. Do not start painting just because the surface looks dry on top.
Step 2: Scrape, Sand, and Repair
Once the fence is clean and dry, look for peeling paint, splinters, rough spots, cracks, and damaged boards. Scrape away any loose or flaking paint. If old paint is still firmly attached, you do not need to remove every bit of it, but the surface should be smooth enough for the new layer to bond.
Sand rough areas, especially where paint has peeled or where the wood feels raised. You are not trying to make the fence as smooth as indoor furniture, but sanding helps create a better surface for the primer and paint.
Repair small holes or cracks with exterior wood filler if needed. Replace boards that are rotten, badly warped, or broken. Check fence posts and rails, too. If they are loose, fix them before painting. A beautiful coat of paint will not help much if the fence itself is unstable.
Step 3: Protect the Area Around the Fence
Before opening the paint, protect the surrounding yard. Use plastic sheeting or drop cloths along the bottom of the fence to cover grass, mulch, stone, concrete, or patio areas. Apply painter’s tape around gate hardware, metal accents, house siding, or anything attached to the fence that should not be painted.
If you are using a sprayer, cover nearby outdoor furniture, windows, plants, and anything close to the work area. You can also use a piece of cardboard as a shield near corners and edges.
Step 4: Apply Primer if Needed
Primer is not always required, but it is helpful in many situations. Bare wood, patched areas, heavily weathered boards, and fences changing to a much lighter or darker color often benefit from primer. Primer helps the paint bond to the wood and can create a more even finish.
Use a brush for edges, corners, and tight spots around fence posts. A roller can work well on flat surfaces, especially on wide boards or panels. If the fence has vertical panels, work in manageable sections so you do not miss edges or seams. If it has horizontal panels, follow the board direction as you work.
Let the primer dry according to the product instructions before applying paint.
Step 5: Apply the First Coat
Now comes the most satisfying part of the process: painting.
Stir the paint well and pour it into a tray if you are using a roller or paintbrush. If you are using a paint sprayer, follow the sprayer instructions and test the spray pattern on cardboard first.
For a brush or roller, begin at the top of the fence and work downward. This helps you catch drips as you go. Use vertical strokes on vertical panels and horizontal strokes on horizontal panels. Try to follow the direction of the wood grain when possible. This gives the painted wooden fence a cleaner, more natural finish.
Use a paintbrush around edges, seams, corners, and fence posts. Use a roller for wider flat surfaces. If you are spraying, keep the sprayer moving at a steady pace and avoid holding it too close to the wood. Heavy paint buildup can lead to runs, drips, and uneven drying.
Step 6: Let the First Coat Dry
After the first coat is complete, give it time to dry. Drying time depends on the type of paint, temperature, humidity, and airflow around the fence. Always follow the label directions.
Avoid touching the surface too soon. Paint can feel dry on the outside but still be soft underneath. Keep kids, pets, furniture, and yard tools away from the fence until it has dried enough for the next step.
Step 7: Apply the Second Coat
For most wood fence painting projects, two coats are better than one. The second coat improves color, coverage, and durability. It also helps create a smoother finish and a stronger protective barrier against outdoor wear.
Apply the second coat the same way you applied the first. Work in sections, keep your strokes even, and watch for drips around boards and posts. If you are using a different color than the old fence had before, the second coat is especially important for full coverage.
Step 8: Clean Up and Let the Fence Cure
Finally, remove painter’s tape and plastic sheeting carefully. Clean your tools based on the paint type. Water-based paint usually cleans up with soap and water, while oil-based paint may require mineral spirits or another recommended cleaner.
Move outdoor furniture and décor back only after the paint has had enough time to cure. Dry paint and cured paint are not the same thing. A fence may be dry to the touch but still need more time before it reaches its full durable finish.
Tips to Help Your Painted Fence Last Longer
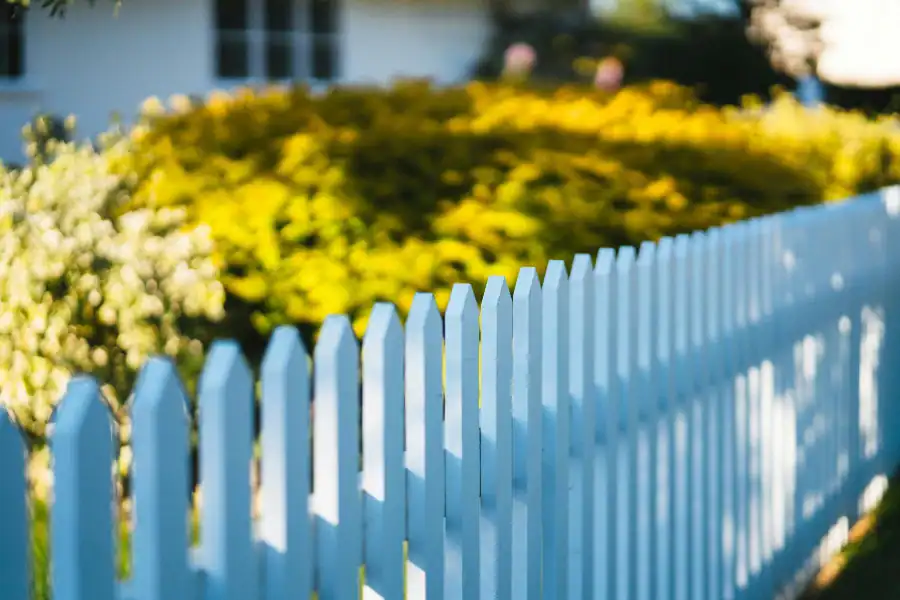
Once your fence is painted, a little maintenance can help protect your work. Keep grass trimmed around the bottom of the fence so moisture does not sit against the wood. Do not let vines, leaves, or landscaping trap water against the surface. Wash off dirt when it builds up, and touch up chips or scratches before they spread.
You should also inspect the fence once or twice a year. Look for peeling paint, loose boards, soft areas, or spots where water seems to collect. Small repairs are much easier than repainting the entire fence too soon.
If your painted wooden fence starts to fade after a few years, it may be time to repaint. A fresh coat can bring the color back and help protect the wood again.
When Professional Fence Painting Makes Sense
Painting a fence can be a good DIY project if the fence is in decent shape and you have the time, tools, and patience to do the prep work. Smaller fences are usually manageable for homeowners.
However, larger fences, older fences, or fences with a lot of repairs can take more effort than expected. If the wood is badly damaged, the fence posts are failing, or the whole structure is nearing the end of its life, painting may only be a short-term fix.
A professional can also be worth it when you want a cleaner finish, need help choosing the best paint, or simply do not want to spend your weekend scraping, sanding, taping, and painting.
Need Help With Professional Fence Painting?
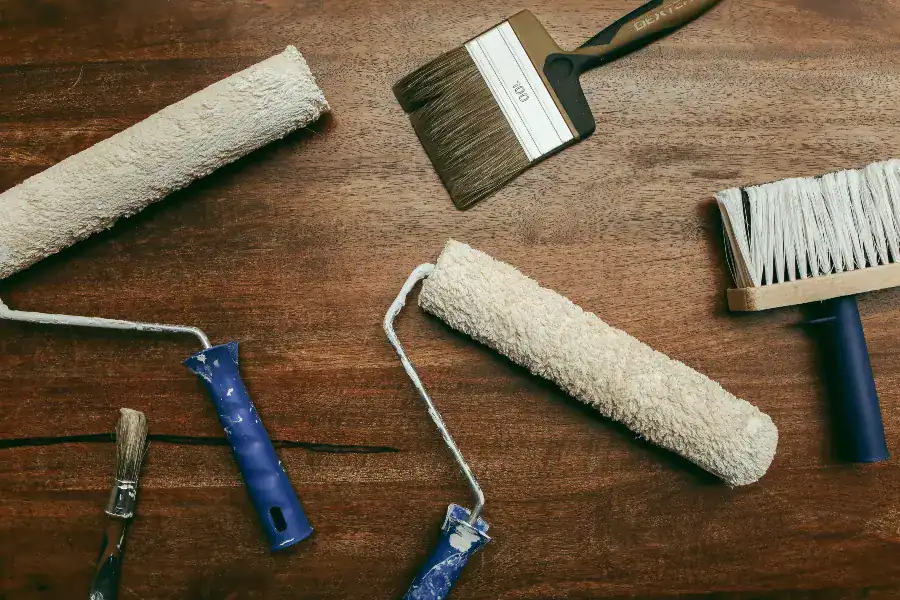
If you like the idea of a freshly painted fence but not the time, tools, and prep work that come with it, Tiller Fence and Deck can help. Our team can inspect your wood fence, talk through your goals, and help you decide whether professional painting, repairs, or replacement will give your yard the best long-term result.
Whether your fence needs a new coat, a different color, or a more durable finish, we are here to help you protect your property and bring your outdoor space back to life. Contact Tiller Fence and Deck today at (405) 784-4424 to get started on your next fence project.


