How To Paint a Wrought Iron Fence: Step-by-Step Guide for a Lasting Finish
April 10, 2026
A wrought iron fence is one of the most elegant and durable choices a homeowner can make for their property.…


Vinyl fencing is known for its low maintenance, but that doesn’t mean it stays spotless forever. Dust, grass clippings, and sun can all take their toll, which is why knowing how to clean a vinyl fence the right way matters. At Tiller, we’ve put together expert tips that work on every fence style, whether you prefer a simple spray and rinse or a more thorough scrub to clean vinyl surfaces.
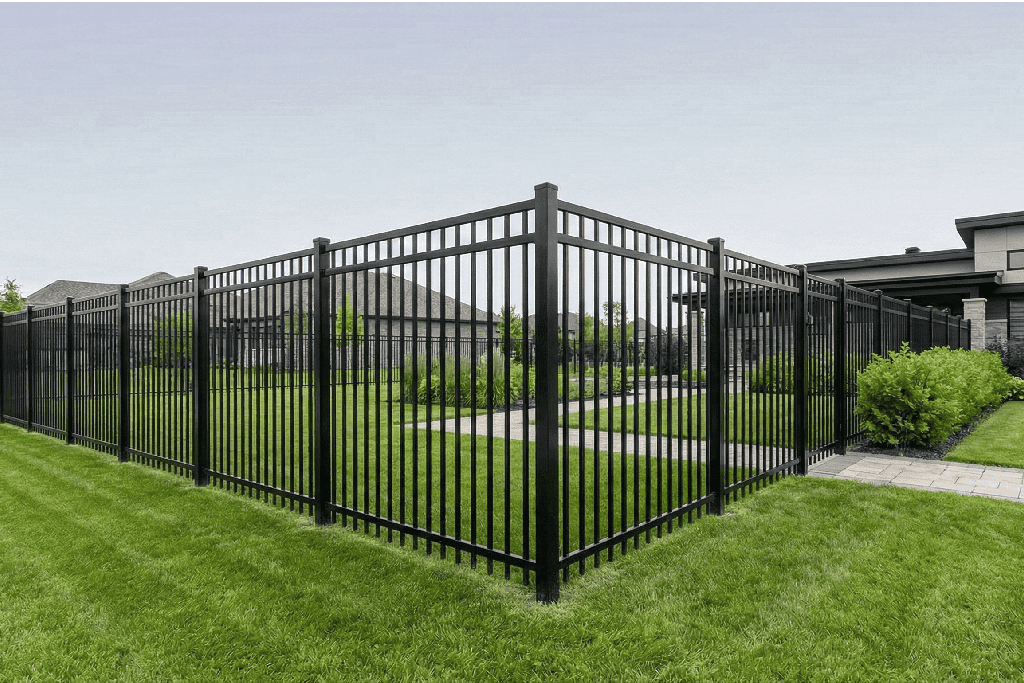
Vinyl fencing is made from PVC (polyvinyl chloride), a non-porous material designed to resist rot, warping, and insect damage. It doesn’t need to be stained or painted, which is a big reason why so many homeowners in Oklahoma choose it. But it’s still outside 24/7, and that means it gets exposed to dirt, wind, sun, and everything else nature throws at it.
Since vinyl is smooth and non-porous, most debris sits right on the surface. But over time, that buildup can create a layer of grime that makes the fence look older than it is. Add in a few bird droppings, water spots from hard water, or grass clippings stuck after mowing, and it doesn’t take long before your white vinyl fence starts looking a little rough.
For most homes, cleaning your vinyl fence once or twice a year is usually enough. But if you live near a dirt road, have lots of trees or sprinklers nearby, or just want your fence to look spotless, you might want to give it a light wash every few months. Overall, it’s best to keep an eye out for problem spots, especially after storms or heavy lawn work.
You don’t need fancy equipment to clean a vinyl fence. Some warm water, the right cleaning solution, and a little elbow grease will get the job done just fine. Here’s how to tackle it the old-school way.
Start by rinsing the whole thing down with a garden hose. This gets rid of surface-level dirt, dust, and debris. Try to cover all sides, and don’t forget the top rails and post caps. The goal here is to get rid of anything loose before you start scrubbing.
Mix a simple cleaning solution using warm water and dish soap in a bucket. For something stronger, add a splash of white vinegar. You can also use a spray bottle filled with vinegar solution for spot cleaning. If you’re dealing with mold or mildew, use a diluted bleach solution or a vinyl-safe cleaner like Simple Green.
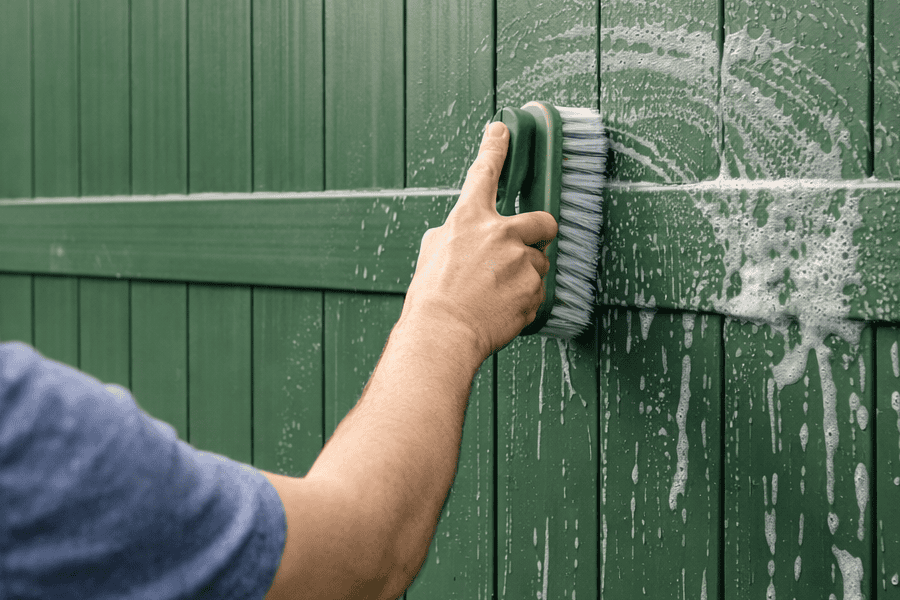
Dip a soft-bristled brush or sponge into your soapy water and start scrubbing small sections at a time. A soft brush gives you control without scratching the vinyl. Work top to bottom, rinsing your brush or sponge often.
For mold or algae, spray the affected areas with a vinegar solution or bleach solution (just avoid mixing bleach and vinegar). Let it sit for a few minutes. Then go back in with a soft brush or magic eraser to gently lift the stains. On a white vinyl fence, this method works really well.
Once you’re done scrubbing, rinse off the soap with clean water from your garden hose. Don’t let the soap sit too long, or it can leave streaks. Make sure to rinse every area you cleaned, especially the small crevices around posts and rails.
Use a soft cloth to dry or just let the fence air dry. Once it’s dry, take a walk along the fence line to spot any leftover grime or stubborn stains you might’ve missed.
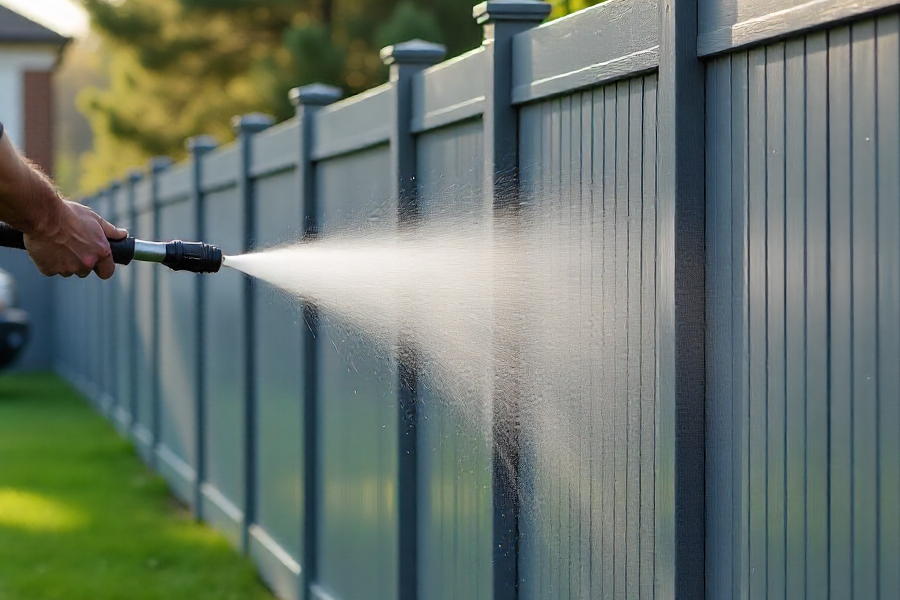
If your vinyl fence hasn’t been cleaned in a long time or you’re short on time, pressure washing might be the faster route. Just make sure to do it safely, as vinyl can be damaged by too much pressure if you’re not careful.
Use a power washer if your fence is large, heavily stained, or covered in years of grime. It’s also helpful for getting into tight spots between panels or posts. But you don’t want to overdo it. A white vinyl fence can especially get damaged by too much pressure in one square inch.
Stick with a machine that offers around 1,200 to 2,000 PSI. That’s enough cleaning power to remove dirt without hurting the vinyl surface. More power might sound better, but it’s not always the safer option for fences.
Use a wide-angle spray nozzle, at least 25 to 40 degrees. This spreads the pressure out and makes it gentler on the vinyl. A tight, narrow spray puts too much pressure on one spot and can leave marks or gouges.
Always stand at least three feet away and keep the wand moving. Don’t spray too close or hold it in one spot for too long. Start at the top and move your spray in smooth, overlapping strokes.
Even when pressure washing, rinsing is key. Use clean water and a steady, even motion to wash off soap and residue. Double-check crevices where cleaning products might get trapped.
Unfortunately, some stains won’t budge with basic cleaning. Below, you’ll find specific instructions on how to deal with the worst offenders.
Use a stronger vinegar solution or diluted bleach solution. Apply it with a spray bottle or sponge, let it sit for 5-10 minutes, then scrub with a soft brush. Rinse thoroughly with clean water afterward.
For algae, try a 50/50 mix of white vinegar and water. Let it soak the stain, then scrub with a soft-bristle brush. For larger spots, a specialty cleaner like Mold Armor or Simple Green can speed things up.
Rust stains need a targeted cleaner. Look for one labeled for vinyl or safe on outdoor materials. A paste of vinegar and baking soda can help, too. Apply it directly, let it sit, then scrub gently.
If your fence is near a driveway or grill area, use soapy water and a soft cloth. Dish soap works well on greasy stains. Rinse with clean water and check if a second round is needed.
Try a magic eraser or vinyl-safe cleaner. Avoid strong chemical solvents that could damage the vinyl. If you’ve got bleach damage, there may not be much to do beyond replacing the affected panel.

A lot of everyday stuff can make your vinyl fence look dirty. These are the most common troublemakers and what they actually do to your fence surface.
Mold and mildew love damp, shady spots. If part of your fence stays shaded or is near sprinklers or wet garden beds, you’re more likely to see dark spots pop up over time. Mold looks black or greenish, and mildew tends to be gray or white. Both can stick around unless you clean them with something strong enough to cut through their roots, like a diluted bleach solution or a product like Mold Armor.
Green streaks or film on your vinyl fence? That’s probably algae. It clings to the surface, especially where there’s constant moisture. Think fence sections near drip irrigation or where the sprinkler overshoots. Algae is slippery and can spread fast, so don’t ignore those pale green smudges when they first show up.
In Oklahoma, the wind can blow in more than just a breeze. Dust, pollen, and other airborne debris land on your fence daily. Without regularly cleaning it off, it builds up. A quick rinse with a garden hose helps remove dirt, but deeper layers of grime need a little more cleaning power to clear.
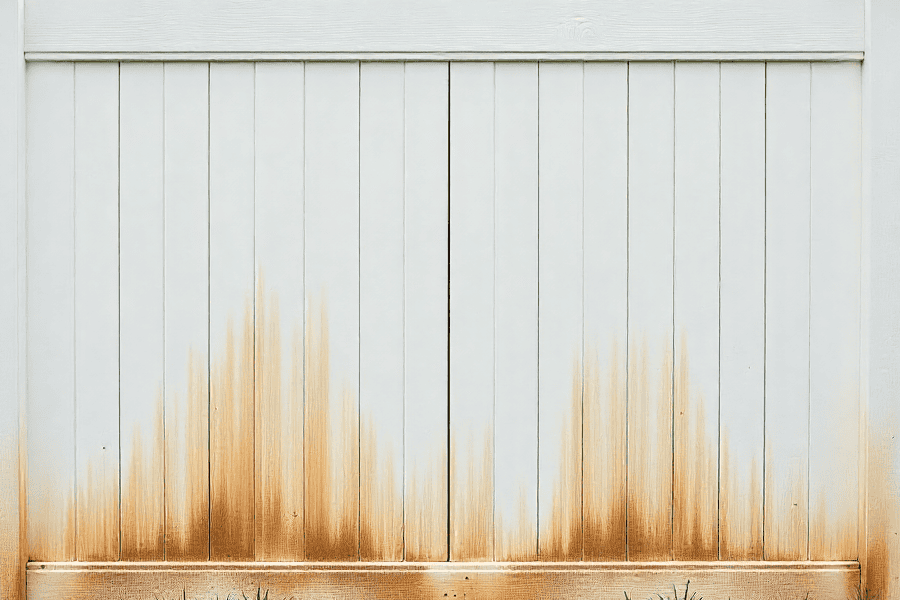
You might see rusty spots on your fence if it’s near old metal hardware, iron gates, or a sprinkler that uses hard water. Those rusty orange streaks are actually iron deposits. Other times, hard water causes cloudy or white patches known as mineral stains. These tough stains need a little more than soap and water to get off—sometimes a vinegar solution or even specialty vinyl fence cleaner does the trick.
After mowing, wet grass clippings can stick to your vinyl like glue, especially if the surface is already damp. Over time, they can leave behind green or brown smears. Fertilizers and weed killers can also stain if they accidentally hit the fence. Be careful spraying near your fence, and clean up chemical overspray right away with clean water.
Vinyl holds up well in the elements, but it’s not immune to sun damage. Over time, UV rays can dull the color and cause oxidation, especially on white vinyl. This creates a chalky surface layer that makes your fence look faded. Regular cleaning helps prevent this buildup and keeps your fence looking brighter for longer.
If your fence panels are cracked, warped, or discolored beyond saving, cleaning won’t bring them back. Sun damage, bleach damage, and deep chemical stains can permanently alter vinyl. In those cases, replacement may be the best option. And if you’re not sure what your fence needs, a professional opinion can save time and money.
If you’re constantly wiping down the same streaks and stains, maybe it’s time for a change. At Tiller, we install exactly the kind of low-maintenance fencing that’s easy to clean, and even easier to love. As a top OKC and Tulsa fencing contractor, we know what works here.
Let’s upgrade your yard together!