How to Clean a Wood Deck: A Step-by-Step Guide for a Safer, Cleaner Outdoor Space
May 31, 2026
A wood deck works hard all year. It takes on sun, rain, foot traffic, leaves, pollen, dirt, grime, spilled drinks,…


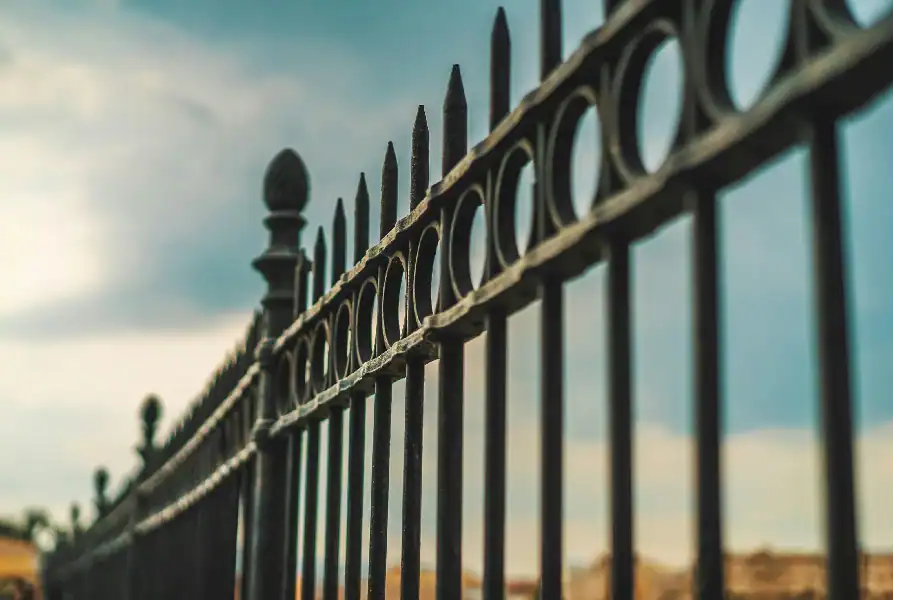
Homeowners often want to update their outdoor look or bring life back to a fence that’s seen better days, but how do you paint an aluminum fence without making a mess?
While most aluminum fences are built to last and stay low-maintenance, sometimes a fresh coat of paint can make a world of difference. With the right tools, a little proper preparation, and some guidance from our team at Tiller, you can complete the project and make your aluminum or wrought iron fence look brand new again!
Below are 6 easy-to-follow, detailed steps to help you paint your aluminum fence and make it look brand new.
Purchase or prepare these supplies:
Before you grab a brush, roller, or paint sprayer, inspect your entire fence. You want to catch any damage or issues that could mess up your paint job later. Look for bent pickets, loose panels, or posts that aren’t sitting right. Check if the original finish is fading, chipping, or showing bare metal. If your fence came with powder coatings (and a lot of aluminum fences do), keep that in mind, as those factory finishes need extra preparation before new paint will adhere.
Look for rust spots, grime, dirt, grease, oil, or mildew. Anything stuck to the surface will block your paint from bonding. If there’s peeling or flaking, you’ll need to remove those first. And if you’ve got a wrought iron gate mixed in with your aluminum panels, you’ll have to inspect it, too.
Cleaning is the foundation of durability. Out here, fences collect dust, pollen, dirt, and grime from the elements, especially if they’re near a driveway or get hit by sprinklers. If you paint over that, the paint simply won’t stick.
Pull off loose debris like leaves, spider webs, and dirt clumps. Then wash the entire fence with warm water and a mild detergent. Use a soft brush or sponge and scrub it down, and then rinse thoroughly so no soap residue is left behind. For stubborn spots, use a wire brush to scrub harder. Using a pressure washer is also an option.
Once it’s clean, let it dry completely. It will take around 24 hours, maybe more if it’s humid or if rain has just passed through. This is an important step because water trapped under paint will cause it to bubble and peel.
Now we create texture. Most aluminum fences come with a factory finish (either powder-coated or sealed), and paint won’t adhere to that smooth surface without help. Use medium-grit sandpaper (60-80 grit is a good starting point) and lightly sand the surface. Focus on areas where the old finish is worn, scratched, or peeling.
If the fence is in decent shape, a light scuff might be all you need. If there’s serious wear or flaking, you’ll need to remove more of the old coat. After sanding, wipe down the surface with a clean cloth to get rid of dust. Work in sections so you’re not leaving bare metal exposed for days where it can oxidize.
And don’t forget to wear a dust mask!

Primer bonds to the aluminum, provides a solid base for the paint, and helps protect the metal from the elements. Factory powder coatings resist direct paint, so without primer, your paint might not hold. Primer also helps prevent rust and oxidation, even on aluminum. It reduces the number of top coats you’ll need and gives you a more uniform appearance.
Use a self-etching metal primer for this project. If you’re using a paint sprayer, this is where it shines. You can cover the entire fence quickly and evenly. And if you’re using a brush or roller, work in sections and keep a wet edge to avoid lap marks.
Apply one coat, let it dry per the instructions on the can (usually a few hours to a full day), then check it. If it looks thin or blocked in spots, apply a second coat of primer. Some people lightly sand the primed surface with fine sandpaper to knock down any dust nibs, then wipe it clean.
Additionally, avoid painting in direct sun. The surface heats up, the primer skins over too fast, and it doesn’t bond right. Early morning or late afternoon is a good choice. Also, keep an eye on the forecast, and don’t apply primer if rain or heavy wind is coming.
Use exterior paint formulated for metal. Spray paint works great for wide panels, but a brush or roller is better for detail areas like posts, hinges, and gates. A paint sprayer gives you speed and a smooth finish, but if you’re not used to it, practice on cardboard first. Follow the direction of the pickets or panels for even coverage. Pick a brand you trust, and choose a color that fits your home and neighborhood. Black and bronze are classics for aluminum and wrought iron because they hide dirt and wear well.
Start on one side of the fence, working in manageable sections. Apply the first coat thinly and evenly, and don’t let it pool or drips will form. Let it dry per the instructions (usually a few hours), then apply a second coat. For durability and full color coverage, two or three coats are normal. Then, repeat this on the other side.
Use a brush for edges, corners, and posts. A roller works well for flat panels. If you’re using a sprayer, keep it moving and maintain a consistent distance from the surface. After the final coat, let it cure completely (24 to 48 hours) before you let anything touch it. Also, avoid painting when it’s windy (dust will sit on wet paint) or when rain is coming. Work when the fence is shaded or the sun isn’t beating down. Plan for multiple days if you’ve got a big fence.
Once the paint is dry, walk around the fence. Look for missed spots, drips, or thin coverage. Do touch-ups with a brush or spray. Additionally, check hinge areas, post bases, and anywhere near the ground, as those spots see the most wear.
Extra tip: Write down the paint brand, color, and batch. If you need touch-ups later, you’ll want an exact match.
Once a year, rinse the fence with a hose to clear off dust, pollen, and grime. If sprinklers hit it, watch for water spots, and make sure you clean them off before they sit and stain. After storms, check for scuffs or chips from branches or outdoor furniture. Fix them fast so the metal doesn’t get exposed. Finally, if you see peeling or blistering, get started with spot repairs, as these are easier than starting over.
If your fence was powder-coated and still in great shape, ask yourself if painting is even necessary. Sometimes the factory finish is the better option for low maintenance and life expectancy, after all.
However, if the fence is damaged (e.g., bent panels, corrosion, structural issues), maybe it’s time to replace, not repaint. Sometimes a new fence is simply the smarter call, especially in the long run. If you’re not sure where your fence stands, feel free to reach out to our team, and we’ll see how we can help!
Has your aluminum fence seen better days? Maybe you don’t want to guess your way through another re-painting project. After all, while re-painting might buy a little time, true protection and security come from a fresh, professional installation.
If you’ve decided your metal fence deserves better, plug into our trusted aluminum fence services—we’ll handle the heavy lifting, tackle wear and tear, and leave you with a fence that looks and feels brand new.
Keep your clothes clean and your body relaxed; we’ll take care of everything from start to finish!