There’s something satisfying about seeing a freshly stained wood fence. The rich color, visible wood grain, and clean finish can completely change the look of your yard. What was once faded and weathered suddenly becomes one of the best-looking features on your property.
The good news is that a successful fence staining project is well within reach if you take your time and follow the right process. The bad news is that many homeowners rush straight to applying stain without giving enough attention to the prep work. That’s usually where problems like uneven color, peeling, lap marks, and poor durability begin.
At Tiller Deck and Fence, we’ve seen beautiful stain jobs last for years, and we’ve also seen projects that needed to be redone after only a single season. The difference almost always comes down to preparation, choosing the right wood stain, and applying it under the right conditions. Whether you’re staining a brand-new wooden fence or refreshing one that’s been standing for years, this guide will help you achieve professional-looking results that withstand Oklahoma’s changing weather.
Why Staining Project Your Fence Is Worth the Effort
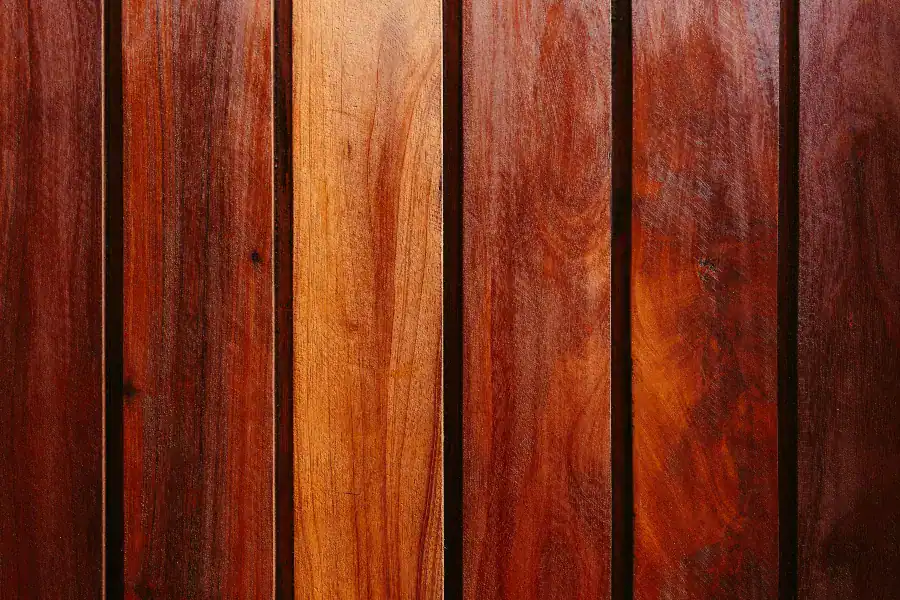
A wood fence does more than define your property line. It adds privacy, boosts curb appeal, and frames your outdoor space. Without protection, though, constant exposure to the sun, rain, snow, and humidity can leave the wood looking faded and weathered.
Learning how to stain a wood fence helps protect the wood fibers from moisture while bringing out the natural wood grain. A quality wood stain also slows cracking, splitting, and premature wear, helping your fence stay attractive for years with far less maintenance.
How a Quality Wood Stain Protects and Beautifies Your Fence
Unlike paint, stain penetrates the surface instead of creating a thick coating on top. This allows the wood grain to remain visible while helping protect the fence against moisture and UV damage.
Whether you choose a stain, sealer, or varnish depends on the look you’re after, but stain offers one of the best combinations of protection and appearance. A properly stained fence is easier to maintain and typically lasts much longer than untreated wood.
Understanding Your Stain Options Before You Begin
Not every wood stain performs the same way, so choosing the right product before your fence staining project begins is important. The age of the fence, the condition of the wood, and your preferred finish all play a role.
Solid Stain vs. Transparent and Semi-Transparent Finishes
A solid stain offers the most coverage and works well on older fences with discoloration or imperfections. Transparent and semi-transparent stains allow more of the natural wood grain to show through, making them a popular choice for newer fences.
Oil-Based Stains vs. Water-Based Stains
Oil-based stains penetrate the wood fibers more slowly, giving them extra working time and making them a favorite for many exterior woodworking projects. Water-based stains dry faster, clean up more easily, and many modern formulas offer excellent durability thanks to acrylic and urethane binders.
Whichever product you choose, always read the technical data sheet before you begin. Following the manufacturer’s instructions for preparation, drying times, and application will help you achieve the best results.
Surface Preparation: The Step Most Homeowners Want To Skip
A beautiful finish starts long before you open the can of stain. In fact, surface preparation is where most fence staining projects succeed or fail. Dirt, mildew, moisture, and loose debris prevent wood stain from soaking evenly into the wood, leading to blotchy results and a shorter lifespan.
If you’ve tackled a woodworking project before, you already know that prep work usually takes longer than the actual staining. It’s tempting to rush through it, but spending a little extra time now can save you from having to redo the entire project later.
Cleaning, Repairs, and Preparing an Older Wood Fence
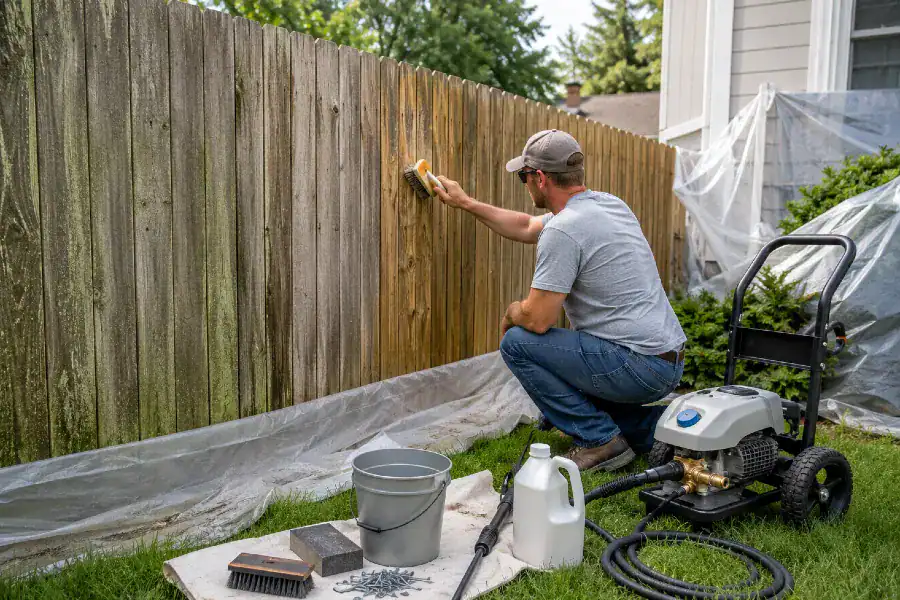
Before you begin applying the stain, inspect every board from top to bottom. Tighten loose screws, replace damaged hardware, and remove any nails or staples sticking out of the fence. If vines or plants are growing against the wood, pull them away first so the surface can dry properly.
Next, give the fence a thorough cleaning. For light dirt, a wood cleaner and a stiff brush are usually enough. If the fence is heavily weathered, a pressure washer can speed things up, but use moderate pressure. Spraying too aggressively can damage the wood fibers and leave a rough surface that needs additional sanding.
Before moving on, make sure you:
- Wash away dirt, mildew, cobwebs, and loose debris.
- Scrub stubborn stains with a quality wood cleaner.
- Cover nearby furniture, your deck, siding, plants, and the side of the house with plastic sheeting.
- Allow the fence to dry completely before staining.
One final tip that’s worth following is to check the wood’s moisture content. Most manufacturers recommend the lumber be below 15% moisture before applying stain. If the wood is still damp from recent rain or cleaning, let it rest another day or two. You’ll get much better absorption and a smoother finish.
When To Wait Before Staining New Lumber
If you’ve installed a new wood fence, patience pays off. Fresh lumber often contains moisture from the milling process, and staining too soon can lead to uneven absorption and poor durability.
The amount of time you’ll need to wait depends on the wood species, humidity, and recent weather. A moisture meter removes the guesswork, but as a general rule, late spring and early fall provide ideal conditions for staining because temperatures are moderate and the wood has time to dry naturally.
Hardware and Materials You Will Need
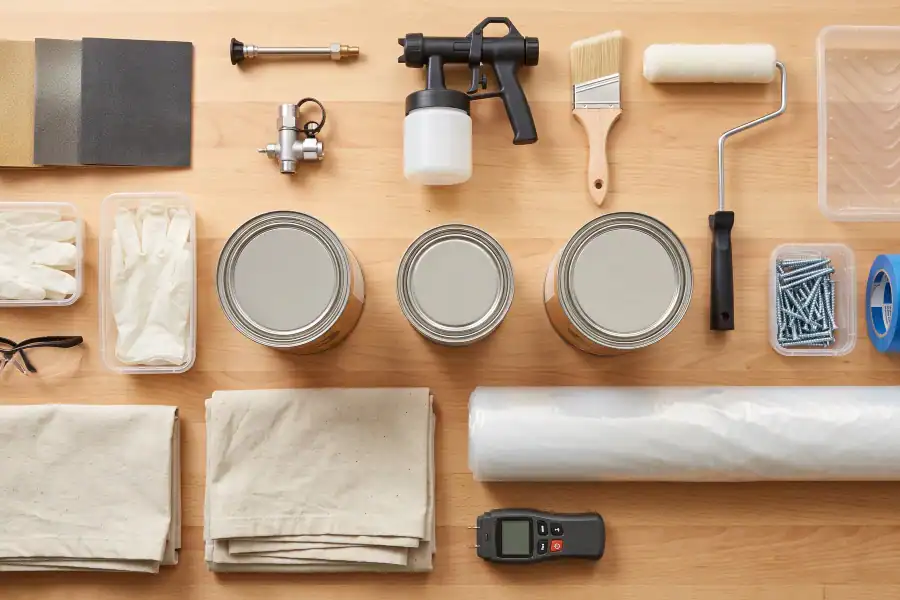
Having the right tools ready before you begin makes the project much smoother and helps you avoid unnecessary interruptions.
You’ll typically need:
- Wood stain
- Brush for detailed work
- Roller or sprayer for larger areas
- Drop cloths and plastic sheeting
- Wood cleaner
- Pressure washer (if needed)
- Sandpaper
- Safety glasses and gloves
- Replacement screws or hardware
If you’re using a sprayer, don’t forget to protect nearby siding, windows, landscaping, and outdoor furniture from overspray.
Choosing the Right Weather for Applying Stain
Even the best stain can produce disappointing results if the weather isn’t cooperating. Direct sunlight, strong wind, high humidity, and approaching rain can all affect how the stain dries.
For the best results, choose a day with:
- Mild temperatures
- Low humidity
- No rain in the forecast
- Light air movement
- Plenty of shade when possible
In Oklahoma, the weather changes quickly, so it’s worth checking the forecast before you start. Applying stain under the right conditions helps prevent lap marks, uneven color, and premature wear.
The Fence Staining Process Step by Step
Once the fence is clean, dry, and ready, it’s finally time to start staining. Work one panel at a time and try to keep a steady pace so the stain blends together naturally.
Applying Stain With a Brush, Roller, or Sprayer
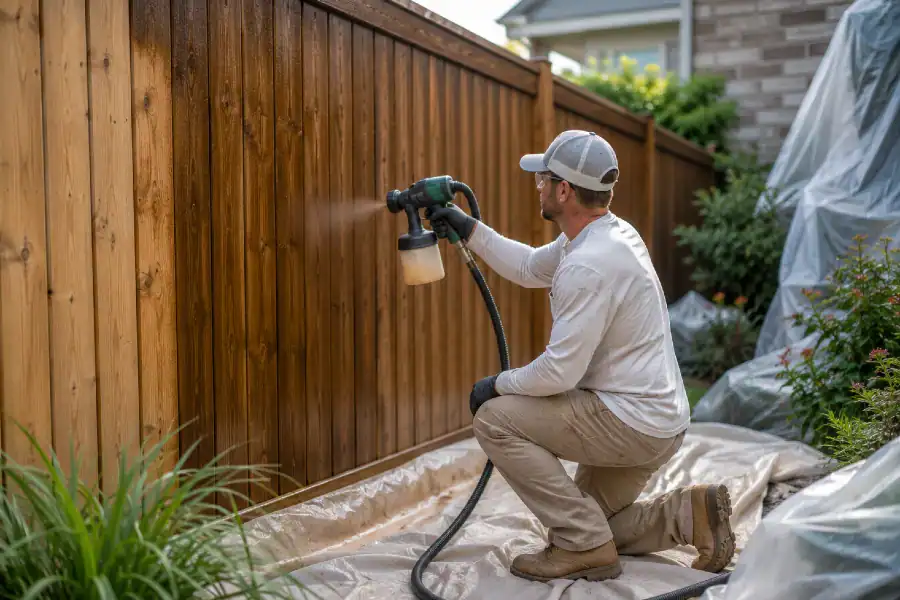
Every application method has its advantages. A brush works well for detail work, while a roller speeds up larger sections. A sprayer is usually the fastest option, especially for long fences.
If you’re using a paint sprayer, set the material flow to the lowest setting and the airflow to the highest setting. This creates a finer spray pattern and helps produce more even coverage. Keep the nozzle moving at a steady pace and let each pass blend into the previous one, rather than heavily overlapping the sprayed areas, which can create lap marks.
Whether you use a brush, roller, or sprayer, it’s better to apply multiple thin coats than one heavy coat. Thin coats reduce drips, improve absorption, and leave a more uniform finish.
A few additional tips include:
- Work from top to bottom.
- Follow the wood grain.
- Finish one panel before stopping.
- Keep coverage even across vertical boards and horizontal boards.
- Avoid overapplying stain.
The point is to work methodically instead of rushing from one section to the next. Taking your time helps create a smooth surface with consistent color and fewer visible streaks. Lastly, remember that small details matter. A little extra patience during application is often the difference between a fence that simply looks good and one that continues to look great for years.
Common Mistakes That Lead to Blotchy Results
Even experienced DIYers make mistakes that affect the finished appearance.
Some of the most common include:
- Skipping surface preparation.
- Staining damp wood.
- Ignoring the technical data sheet.
- Applying stain too heavily.
- Working in direct sunlight.
- Forgetting to sand rough areas.
- Starting just before rain arrives.
Most of these problems are easy to avoid by slowing down and following the process from start to finish.
How To Maintain Your Fence After Staining
Once the stain has cured, a little maintenance goes a long way. Most fences only need attention once or twice a year to keep them looking fresh.
To extend the life of the finish:
- Wash the fence annually using a wood cleaner.
- Scrub away mildew before it spreads.
- Check for loose screws and damaged boards.
- Pull vegetation away from the fence.
- Touch up small areas before they become larger problems.
Professional wood fence maintenance is much easier than completely restoring a neglected fence.
Signs It Is Time for a Fresh Coat
Even the highest-quality stain won’t last forever. As the finish begins to wear, the fence becomes more vulnerable to moisture and UV damage.
Watch for signs like:
- Faded color.
- Water no longer beading on the surface.
- Dry or chalky boards.
- Increased cracking.
- Uneven discoloration.
Refreshing the stain before the wood becomes heavily weathered is far easier than restoring a fence that’s been neglected for years.
When To Call Tiller Deck and Fence for Professional Help

Some fence staining projects are straightforward. Others involve extensive prep work, aging lumber, difficult access, or fences covered in old coatings that require far more than a weekend of work.
Whether you need help preparing the surface, choosing the right wood stain, or completing the entire fence staining project, the team at Tiller Deck and Fence is here to help. We’ll recommend the right products for your fence, apply them correctly, and help protect your investment for years to come. Contact us today to schedule your estimate and bring new life back to your wood fence.

